Crafting a Top Bar Hive Haven
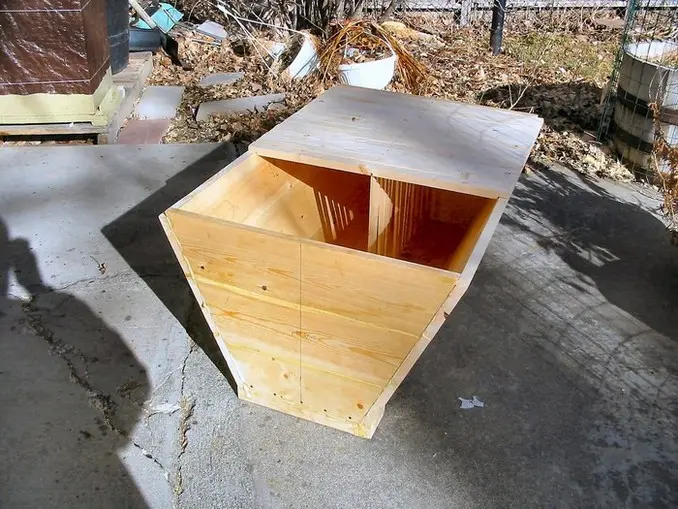
-Hey there, hive enthusiasts! 🌼✨ Ready to dive into the world of crafting top bar hives? This is how I build them. 🛠️🐝
Building the Buzzworthy Hive Body
I get my hands on some 1″ x 6″ x 6′ lumber and get creative! Glue them together to form my building stock. Now, let’s break it down:
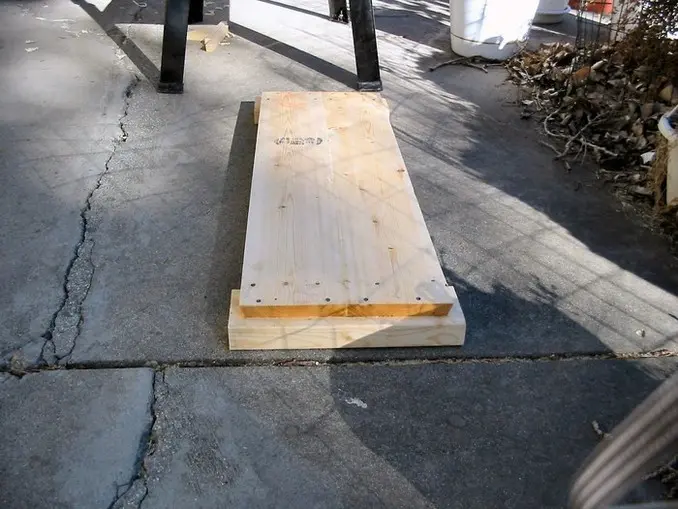 -Start with the bottom. Bevel the sides to match the sidewall slope. Leave enough room on the bottom cleat to set the end piece.
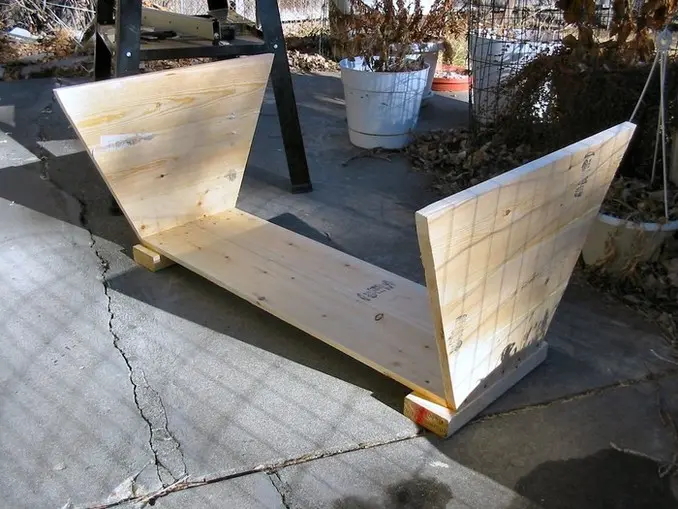 -Cut out the ends and fasten them to the bottom.
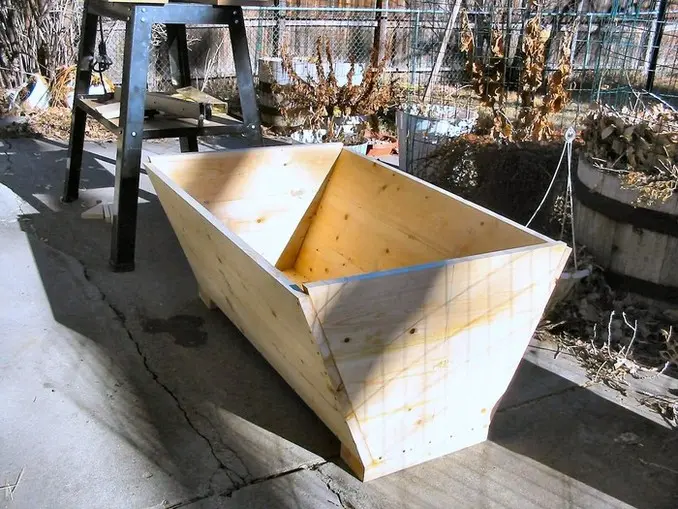 -Now, fasten on the sides. They’ve got beveled edges at the same slope as the sidewalls. Bevels are parallel to each other.
Finally, we cut the entrances, paint the hive, and add spacing cleats on each end. Lifting cleats can be a cute addition if you fancy!
Crafting the Top Bars
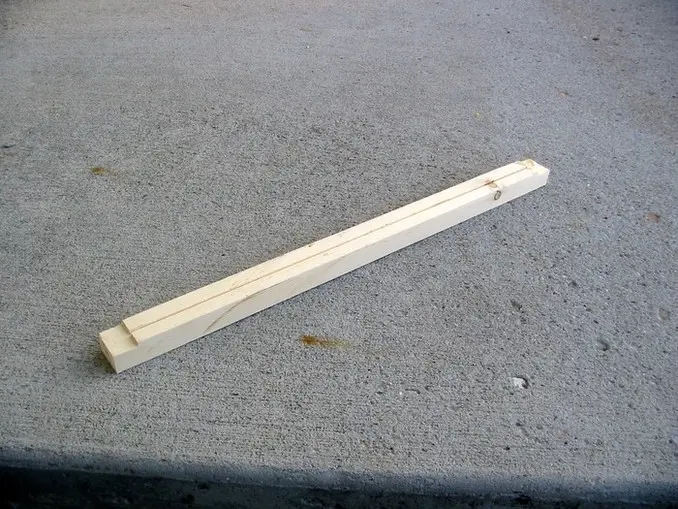 -Check out this top bar with a saw kerf. So handy!
Let’s make those top bars. I grab some sturdy studs – they’re cheap and easy to find. Use a table saw to rip them, keeping them 1″ thick for stability. Then, trim the width to a sweet 1 1/4″.
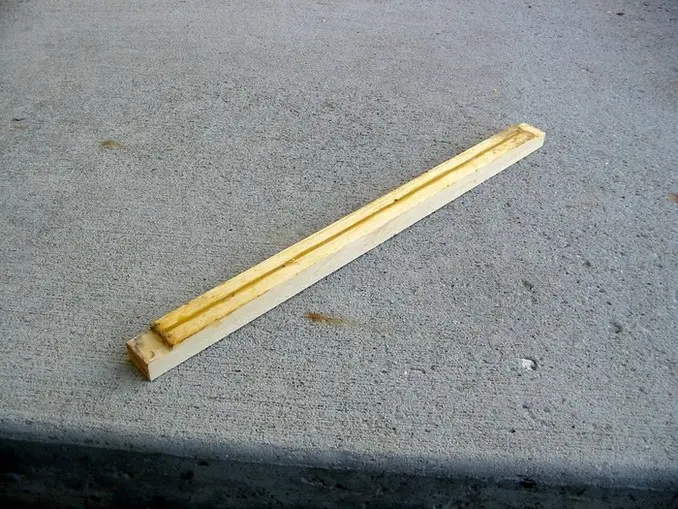 -Now, fill the saw kerf with molten beeswax. A little beeswax magic for a sturdy finish!
The wax-filled kerf adds a charming touch. It’s strong, stores easily, and is bee-approved!
Spacers - Cleats
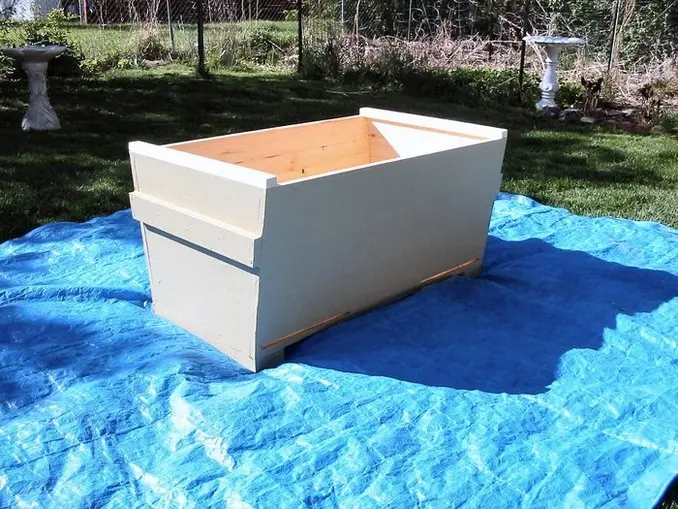 -Meet the spacer cleats – handy helpers for your hive!
Cut two more top bars to 1 1/8″ width for spacer cleats on each end of the hive. Keep some extra top bars, rip them into 1/4″ strips, and use them as needed. They work like a charm between top bars for a wider comb width.
Cover and the Hive Bling
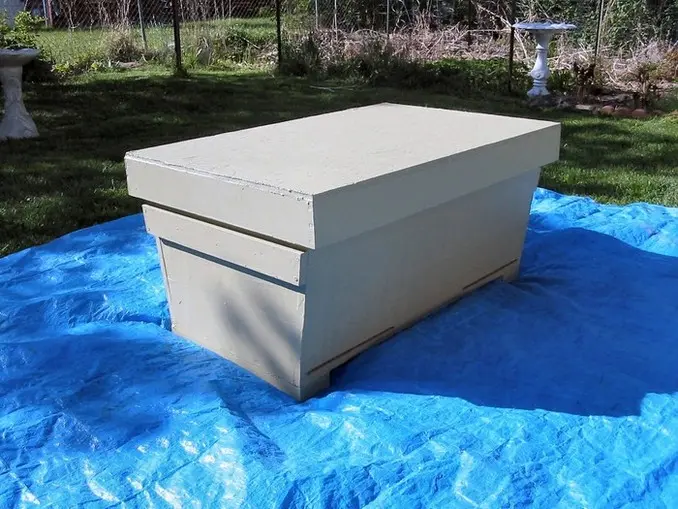 -Behold, the top bar hive cover! It’s got a 3/4″ lumber frame, covered by 1/2″ OSB. Insulated with 2″ of blue foam, it’s a cozy shelter for your buzzing buddies. Add some sheet metal or corrugated roofing for a waterproof finish.
Need detailed plans? Hop on over to the Plans page.
-Craft away, and happy beekeeping, D 🐝🤠
