Dive into the World of Observation Hives!
Hey Bee Enthusiasts! 🌼 Ever wondered what it’s like to have a front-row seat to bee life without disturbing them? That’s where observation hives come in!
Check out this image for a hard copy of the hive. Ready to explore the buzzworthy details?
Observation hives are like mini theaters for bee behavior, housed in a box with glass sides. I’ve been building these fascinating setups for 40 years, crafting all kinds of shapes and sizes – from elegant pieces of furniture to practical wooden crates.
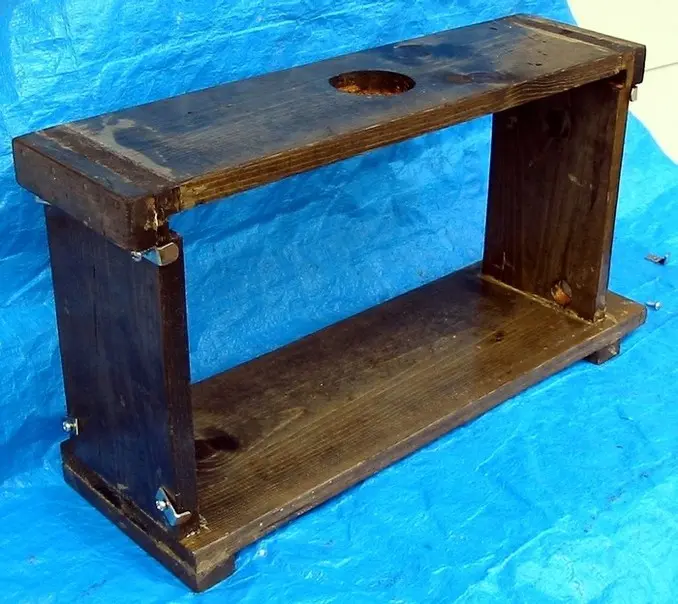
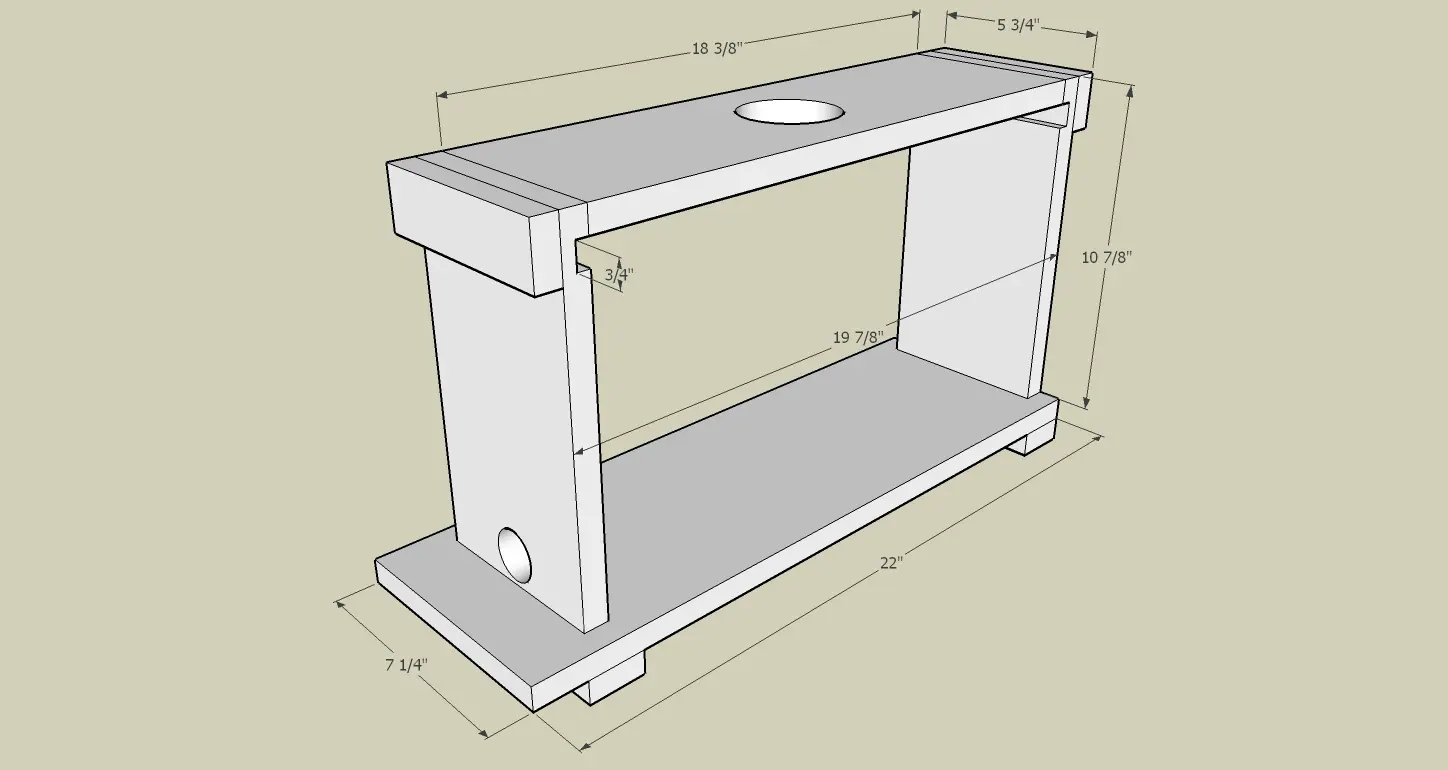
-Behold the observation hive!
What’s Inside?
This hive stands one frame high and four frames wide, perfect for a small colony to thrive during summer. Plus, it’s easily portable for demonstrations or maintenance work.
Building Material
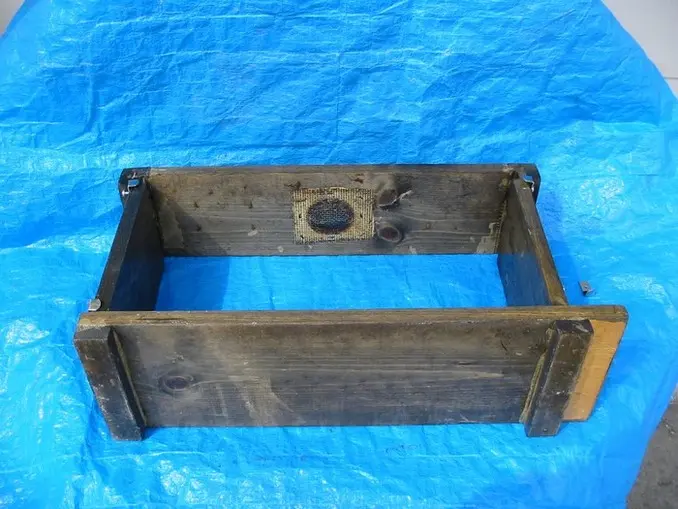
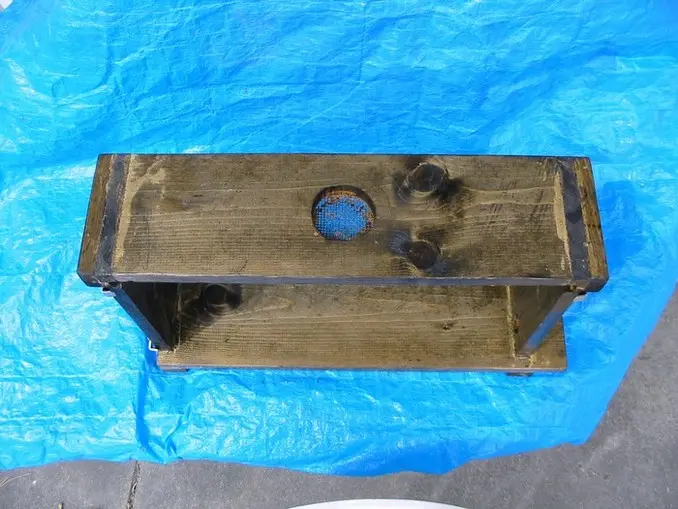
-Get a sneak peek from the bottom.
To create this hive magic, all you need is a six-foot piece of 1″ x 8″ x 3/4 wood. Here’s the breakdown:
- Bottom: 22″ x 7 1/4″
- Two Sides: 10 7/8″ x 5 3/4"
- Top: 18 3/8″ x 5 3/4
- 2 Side Cleats: 5 3/4″ x 1 3/4″
- 2 Bottom Cleats: 7 1/4″ x 1 3/4″
- 8 Mirror Clips
- 2 Glass or Plexiglass Pieces: 19 3/4″ x 10 3/4″
- 4 Deep Frames
- Small Piece of 1/8″ Hardware Cloth: About 5″x 5″
- Wood Screws
Crafting the Magic
Prepare the bottom and sides, then fasten them together:
- Sides have a 3/4″ dado cut starting 3/4 inches below their top edges.
- Center one side on the bottom, making it flush.
- Drill pilot holes and screw the side securely.
- Center the second side and attach it to the bottom.
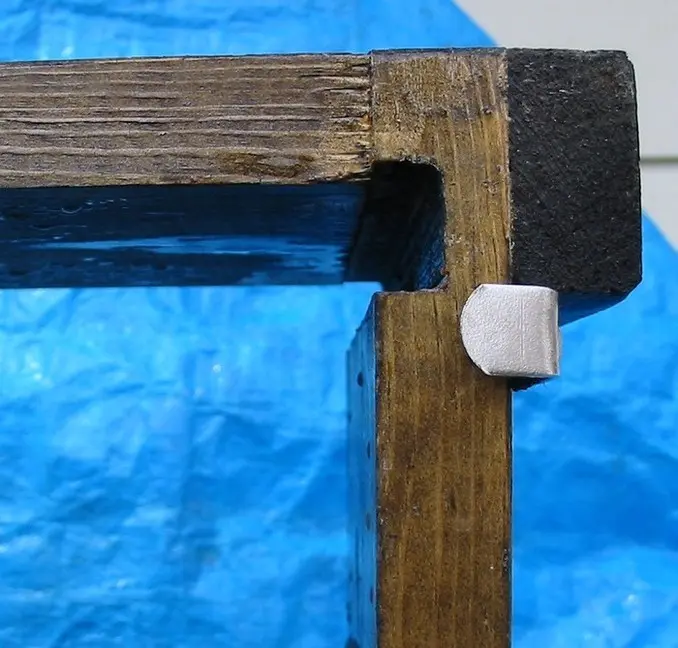
-A closer look at the corners.
Cut out the top piece:
- Make a mason jar ring size hole in the lid.
- Staple a piece of 1/8″ hardware cloth to cover the hole.
- Securely fasten the top between the sides.
-Top it off in style.
Add cleats and create an entrance:
- Place top cleats flush with the upper surface.
- Position bottom cleats below the sides.
- Cut a 1″ entrance hole on one end.
Now, it’s the perfect time to give it a stylish wood finish.
Let the Light In!
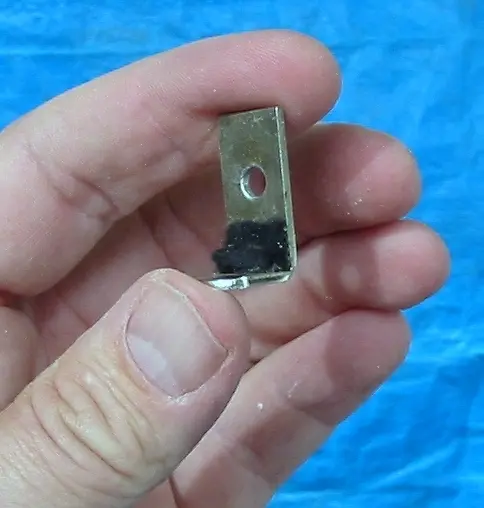
-Mirror clips to keep the glass in place.
When getting the glass, have the shop round off the edges and corners. Mount mirror clips to hold the glass in place – loosen them for vertical sliding or remove for horizontal removal.
Home Sweet Hive
Stock this hive with:
- One frame with a queen, bees, brood, honey, and pollen.
- Two empty drawn comb frames.
- One foundation frame.
Keep it clean, removing excess propolis and beeswax, especially on the end bars. Maintaining tight tolerances ensures proper bee space and deters burr/brace comb.
TLC Time

-A completed hive with frames, glass, and a cozy chair.
Over time, the glass might need cleaning. Use this opportunity to:
- Remove extraneous comb or propolis.
- Add space with a frame of foundation.
- Remove a brood frame if excess bees become an issue.
Winter Retreat
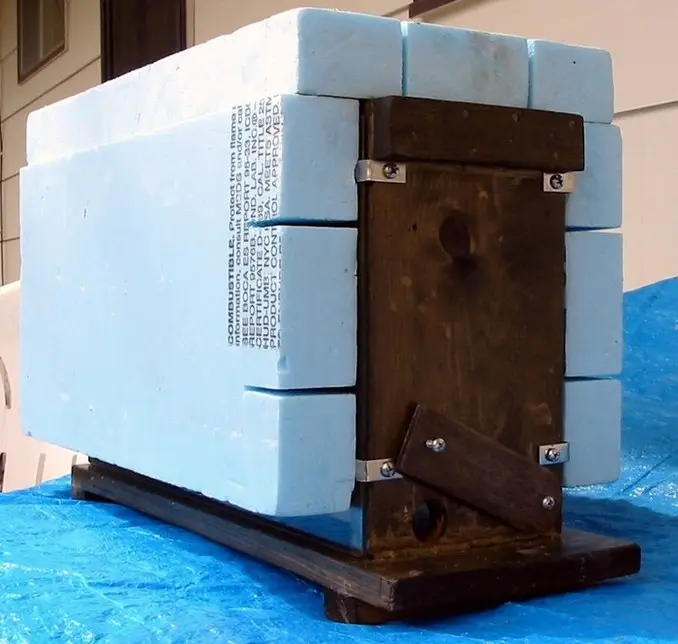
-Ready for winter with a snug cover.
For winter, move the hive to a cool, dark, undisturbed spot like an unheated garage. When the weather permits bee flight, set it outside, retrieving it when winter returns.
Ready to embark on this buzzing journey? ✨
-Happy beekeeping, D 🐝🤠
