Craft Your Own Oxalic Vaporizer for a Mite-Free Hive!

Hey Beekeepers! 🌼✨ Did you know you can tackle those pesky varroa mites with a simple and cost-effective DIY oxalic vaporizer made from standard plumbing supplies? Let’s get into it!
The Buzz on Methods
You’ve got two main methods for distributing oxalic acid in a beehive. One involves spraying or dribbling a solution, but it has some drawbacks. The second, more effective method, is sublimating oxalic acid by heating it to around 300 degrees F. Enter DIY vaporizers!
DIY Magic
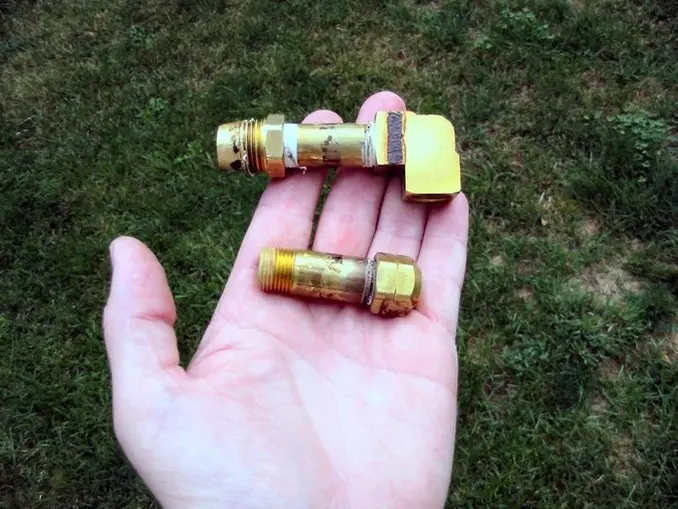
Building your oxalic vaporizer is a breeze—takes less than five minutes and costs less than $10. All you need are two parts: a magazine and a distributor. The magazine, filled with oxalic, screws onto the distributor.
Brass It Up

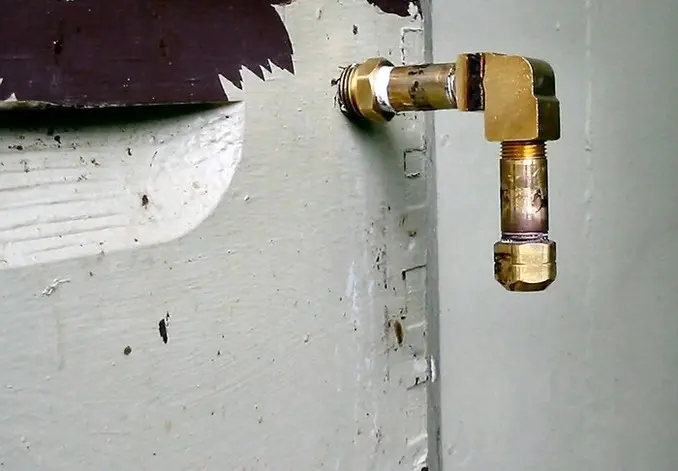
For a brass vaporizer, grab a 3/4″ adapter, a 2″ nipple, and an L. Assemble, grind down the threads, and voilà! An effective vaporizer ready to roll.
Copper Charm

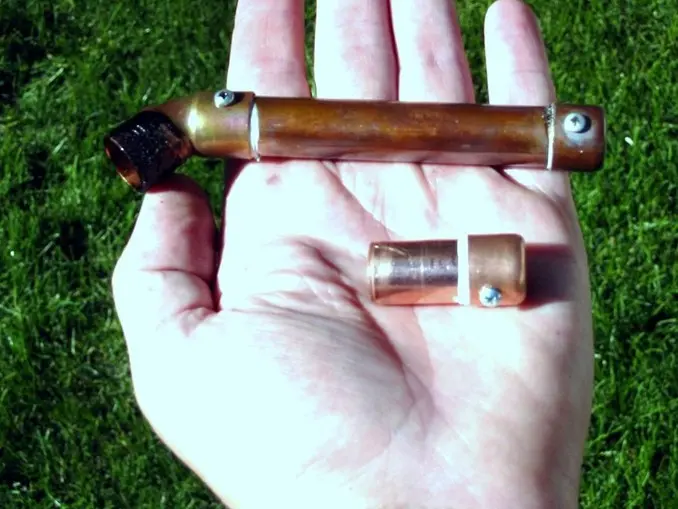
Looking for a cheaper alternative? A copper vent vaporizer can be yours for less than $3. All it takes is some ½ copper pipe, a 45-degree elbow, two caps, and five small screws. Assemble it using Teflon tape and secure it together with the screws. Skip the soldering, though—no need.
Entrance Elegance

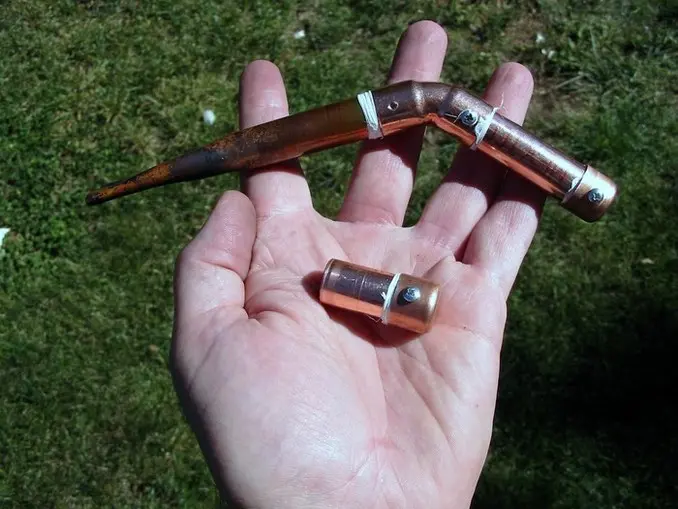
If you prefer an entrance vaporizer, construct it like the copper vent vaporizer with an extra piece of copper pipe. Flatten one end, wrap the circular end with Teflon tape, and insert it into the elbow after charging with the measuring cup.
Operation Bee-Friendly
Before you dive in, read up on oxalic acid MSDS. Safety first, folks! Now, here’s a quick rundown of the basic operation:
- Prepare Your Hive: Remove the magazine or check the entrance for any blockages.
- Magazine Magic: Fill the magazine with the right amount of oxalic acid (1.5 to 2 grams per hive), and attach it to the vaporizer.
- Insert and Seal: Insert the vaporizer into the hive entrance or twist it into the vent hole. Seal up the hive, ensuring fire safety.
- Heat It Up: Use a propane torch on the lowest setting for 4 minutes. Watch the magic happen!
- Cool and Recharge: After sublimation, cool and remove the vaporizer. Recharge and repeat.
- Release the Bees: 10 to 15 minutes post-treatment, remove stuffing, and let the bees out.
- Clean Up: Wash the vaporizer with hot water, clean hands, and store safely away from children and pets.
Vent vs. Entrance
Having tested both, I’ve found little difference in effectiveness. I lean towards the vent vaporizer when bees are flying, as it offers a less disruptive experience and is easier to use.
Electric Avenue
For a speedier option, consider a 12 Volt electric vaporizer. They lack matches or open flames, making them safer during high fire danger.
Commercial Choices
If DIY isn’t your thing, fear not! Several types of oxalic acid vaporizers are commercially available, from basic 12-volt models to elaborate European versions.
Here’s to mite-free hives and happy buzzing!💕
-Cheers, D 🔥🐝
